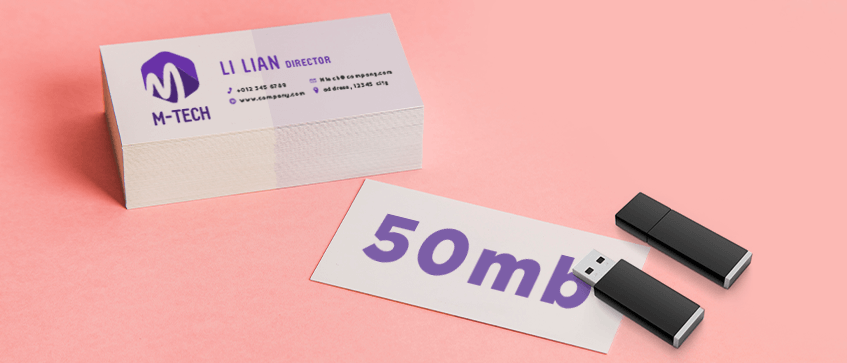
If the PDF file size of your business / name card, flyers etc is bigger than 50 MB, then your file may actually be heavier than it should be. Huge file sizes may not seem like a problem to most of us, but in the digital and printing world, it can cause a few issues down the road. It can slow down your workflow, cause crashes, make file transfers much slower and more, which also contributes to the delays of printing processes.
Therefore, it is important to know ways to reduce the file size of your artwork to minimize the time needed to process your file. Here in Gogoprint, we will give you a few tips and tricks to compress your artwork file size when sending them for printing, and that is without losing the quality of your artwork. If you’re curious, read on to find out!
Scenario 1: Heavy PDF files from Adobe Illustrator
PDF files are usually heavy. Booklets for example make huge file sizes due to the amount of pages it has. In this scenario, we will cover how to reduce the PDF size of your artwork, note that this only works if your file is made from scratch with Adobe Illustrator.
How do I check for this?
Once you save your file, simply right click on your file and check “properties” to see your file size. There are many other ways as well to check your PDF file sizes.
How to fix this?
Many are unaware of this feature when using Adobe Illustrator, which leads to a lot of PDF files becoming bigger files than it should be. Whenever you save your artwork as PDF through Illustrator, you can set your PDF with a few options.
After you click on “file” and “save as” (File>Save As) and set your file to be in PDF, a pop up window will appear. Set your Adobe PDF Preset as “High Quality Print” and untick “Preserve Illustrator Editing Capabilities”. Next, you can set up your bleed and crop marks as usual, then save the PDF. In most cases, you will notice your PDF will be much smaller than the previous PDF.
*Note: Make sure to save this PDF as a separate final file and only re-edit your original file when you have changes, then recreate a new PDF with this setting again if you must
**Note: Only use this method for standard printing products, items with extra finishing like spot varnish name / business cards, stickers, corporate folders are NOT advised to use this method
Will my printed result be affected over this?
No it will not be affected, what the setting does is as it suggests. It simply cuts out the Illustrator editing capabilities (basically removing the technical stuff) while preserving the quality of your artwork. When printing, we do not need the file to be that editable, we’re just using the file to print after all. The downside of this is that your PDF file will not be edit-friendly when opened, thus we recommend a backup file when using this setting.
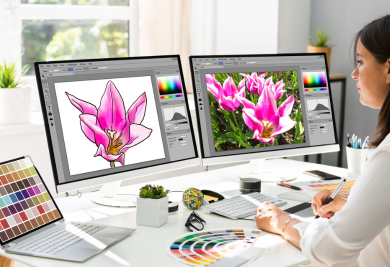
Scenario 2: “Heavy” vector files
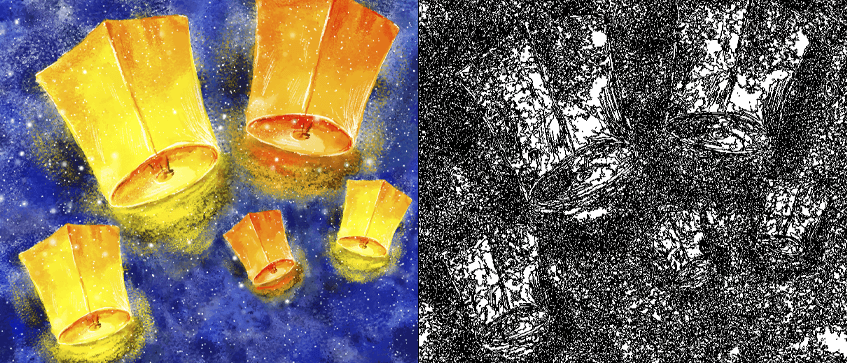
If you’re wondering what kind of picture is a printer’s nightmare, then look no further than the image above! As it shows, the picture is worth a thousand words, or lines. Vector graphics can be complicated, and the more complicated it gets, the more elements it has. The huge amount of elements makes the artwork file heavier than it should be, and can cause plenty of problems when sent for printing.
How do I check for this?
In Illustrator, simply access the top bar of your Illustrator, click on “View” then “Outline” (View>Outline) and see if your artwork hides a forest behind the scenes. If it has plenty of black lines and shapes, then your vector file is extremely heavy. To go back to the normal view, simply click the same buttons.
How to fix this?
The easiest way to solve the issue is to rasterize / flatten the entire image. Vectors are handy in many situations, but not for heavy illustrations. You can simply save the picture as a raster file (JPEG, PNG) in right size and also in 300 dpi resolution, then reapply the picture back to your Adobe Illustrator or other software and save it as PDF.
Furthermore, if your artwork has text or other light elements in it, you can keep the text as a vector and just rasterize the heavy vector instead.
Will my printed result be affected over this?
With the correct steps, the answer is no of course :) When printed, you will hardly notice a difference between your vectorized illustration and the rasterized illustration.
Conclusion
Is our explanation an eye opener on how you deal with large file sizes? We sure hope so. Not only does this knowledge help us in our printing process, you can also apply them in your everyday life as well. That said, if you’re confident with artwork files, try printing with us and get high quality printed results!