


Artwork Essentials

Large Format Printing 101: Everything You Need to Know
Discover how large format printing marketing materials impact your business, the applications and usage, and how to prepare your files for large format printing.
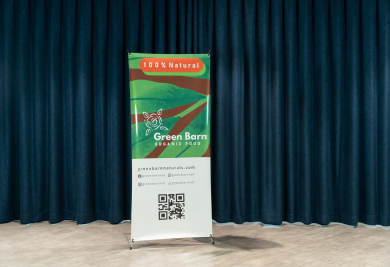
Roll Up Banners: The Ultimate Guide to Effective Marketing Displays
Looking for high-quality roll-up banner printing in Singapore? Discover the benefits, design tips, and artwork guides for creating eye-catching pull-up banners in this article. Get affordable, dura...
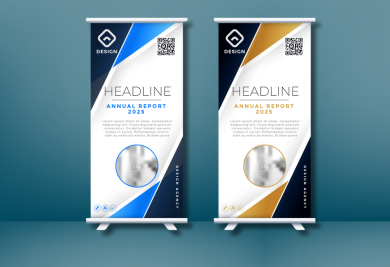
Design Tips for Creating Eye Catching Roll-up Banners
Explore practical design tips that can make your roll-up banners more visually appealing and maximise brand visibility at events and trade shows in Singapore.
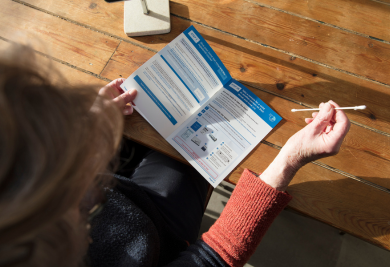
Your Ultimate Guide to Designing Effective Leaflets
Discover how to design effective leaflets with our ultimate guide. Learn key design tips to create striking leaflets that drive results. Follow our tips for successful leaflet campaigns and ensure ...

Flyer Printing Options: Choosing the Right Paper, Size, and Finish
Discover how to create the perfect flyer printing in Singapore for your business with this comprehensive flyer guide. Learn about the best paper types, sizes, and finishes to ensure your flyer mark...

Introduction to Pull-Up Banner - Size Guide For Printing
Pull-up banners, also known as roll-up banners, are low-cost promotional advertising tools. Check out the pull-up banner size guide and more here!

A Guide to Printing Lanyards: Lanyard Size & Dimensions
Read our lanyard printing guide to learn more about the lanyard size, how you should prepare your artwork, and how we print your product here.
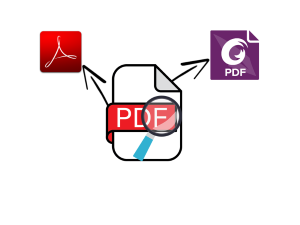
How to Check Dimensions of a PDF File
Ever wonder how you can check the dimensions of your finished PDF file? Here are some simple ways you can check the dimensions yourself.
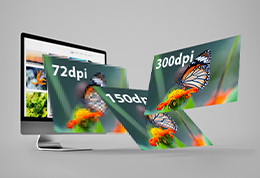
Image Resolution Part 2: Things You Should Know Them (DPI)
Ever wonder why it is so important to use only artwork with a minimum of 300 DPI for printing? Learn more in this article here!
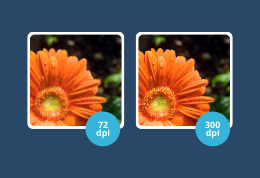
Image Resolution: What does 300 DPI really mean, and why does it matter
Ever wonder why it is so important to use only artwork with a minimum of 300 DPI for printing? Learn more in this article here!
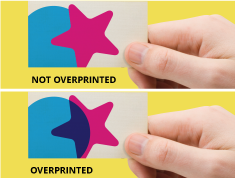
What is Overprint? How It Works & Things To Know
Master the art and science of overprint in digital design. Learn what overprint is, why it's crucial for printing, how to manage settings, and avoid pitfalls here!
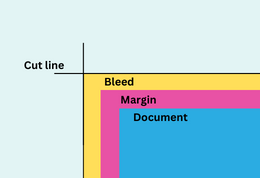
Set up Bleed and Margins For Quality Printing - Adobe Illustrator
The first rule of printing: Do not forget bleed and margin! The second rule of printing: do not forget bleed and margin. Learn how to set it up properly here.


