


STEP 1Choose Your Options
Need help configuring your product or preparing your artwork?
Singapore
Paper Bags
Bag Size
Choose Bag Size
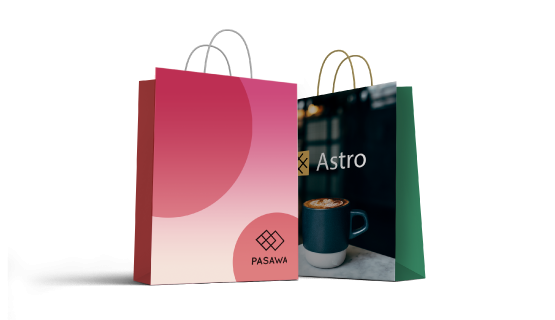
Infos & Tips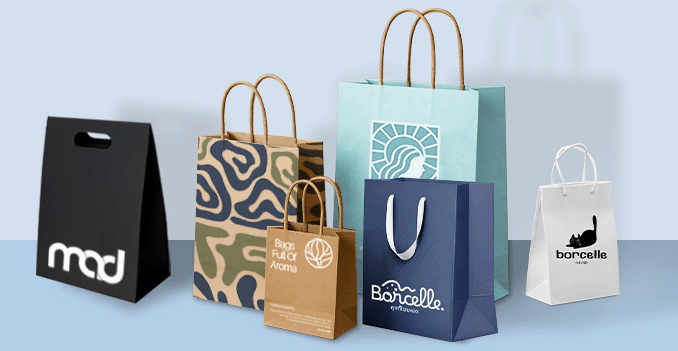 Select from three practical and stylish sizes to suit a variety of packaging needs. Whether for retail, events, or gifting, each bag is crafted for both form and function.
Medium - A versatile size perfect for apparel, notebooks, or medium-sized gifts.
Large - Suited for larger products, product bundles, or premium gift sets."
Select from three practical and stylish sizes to suit a variety of packaging needs. Whether for retail, events, or gifting, each bag is crafted for both form and function.What size paper bag should you pick?
"Small - Ideal for compact items like accessories, small gifts, cosmetics, or stationery.Medium - A versatile size perfect for apparel, notebooks, or medium-sized gifts.
Large - Suited for larger products, product bundles, or premium gift sets."
Material Type
Choose Material Type
Infos & Tips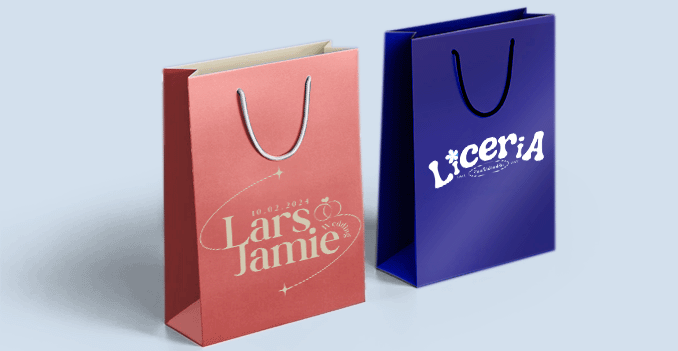 Choose the material that best matches your branding and product needs.
190gsm Glossy Art Card ishicker and more rigid, and offers a premium, high-end feel with excellent structure and durability. Perfect for luxury products, heavier items, or when you want your packaging to stand out and hold its shape well."
Choose the material that best matches your branding and product needs.Our Paper Bag material options:
"157gsm Glossy Art Paper is lightweight yet durable, with a smooth, shiny finish that enhances color printing. Ideal for promotional or retail bags where a polished look is important without adding bulk.190gsm Glossy Art Card ishicker and more rigid, and offers a premium, high-end feel with excellent structure and durability. Perfect for luxury products, heavier items, or when you want your packaging to stand out and hold its shape well."
Lamination
Choose Lamination
Infos & Tips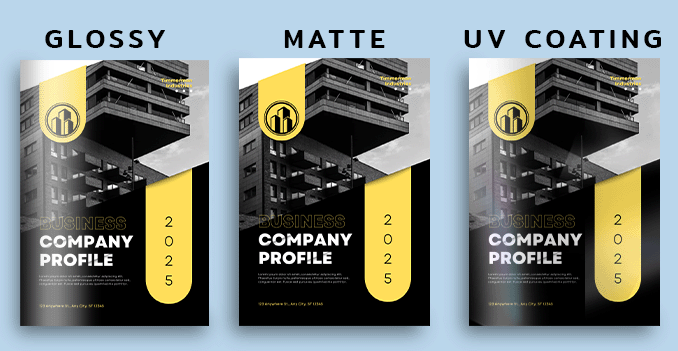
Matte Lamination offers a smooth, non-reflective finish that gives a more subtle, elegant, and premium feel. Ideal for minimalist or high-end branding."
Enhance the look and durability of your paper bags with your choice of lamination finish:
"Glossy Lamination features a shiny, reflective finish that makes colors appear more vibrant and eye-catching. Ideal for bold designs, logos, or branding that needs to stand out.Matte Lamination offers a smooth, non-reflective finish that gives a more subtle, elegant, and premium feel. Ideal for minimalist or high-end branding."
Handle Type
Choose Handle Type
Infos & Tips Our paper bags come with durable polypropylene (PP) handles with tipping.
Tipping neatly seals the ends, enhancing the handle’s appearance and prevent unraveling for a clean, finished look."
Our paper bags come with durable polypropylene (PP) handles with tipping.Why PP handles with tipping?
" PP handle is made from high-quality woven polypropylene, offering excellent strength and resistance to fraying.Tipping neatly seals the ends, enhancing the handle’s appearance and prevent unraveling for a clean, finished look."
Handle Color
Choose Handle Color
Infos & Tips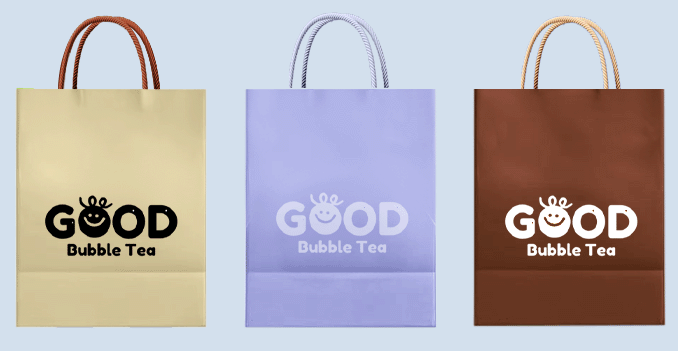 Add a touch of personality or branding to your paper bags by selecting from our available handle colors.
White – Clean and versatile
Black – Sleek and class
Red – Bold and vibrant
Golden – Elegant and luxurious"
Add a touch of personality or branding to your paper bags by selecting from our available handle colors.Choose the handle color that best compliments your paper bag designs!
" Blue – Cool and professionalWhite – Clean and versatile
Black – Sleek and class
Red – Bold and vibrant
Golden – Elegant and luxurious"
STEP 2
Choose a Quantity & Delivery Date
Please select the price below to see the cutoff time.
Quantities
Receive your products by
50 pcs
100 pcs
150 pcs
200 pcs
250 pcs
300 pcs
350 pcs
400 pcs
450 pcs
500 pcs


