


L-StandsQuick Links
Quick Links
L-Stands are one of the most versatile marketing tools for any business. They are a quick and inexpensive way to share your contact details with business partners or new potential clients and play an important role in creating a lasting first impression
SGD 135.73
Per 1 pcsFast Delivery
Don't know where to start from?
STEP 1Do you have a design ready?
STEP 2Choose Your Options
Need help configuring your product or preparing your artwork?
Singapore
L-Stands
Format
Choose Format
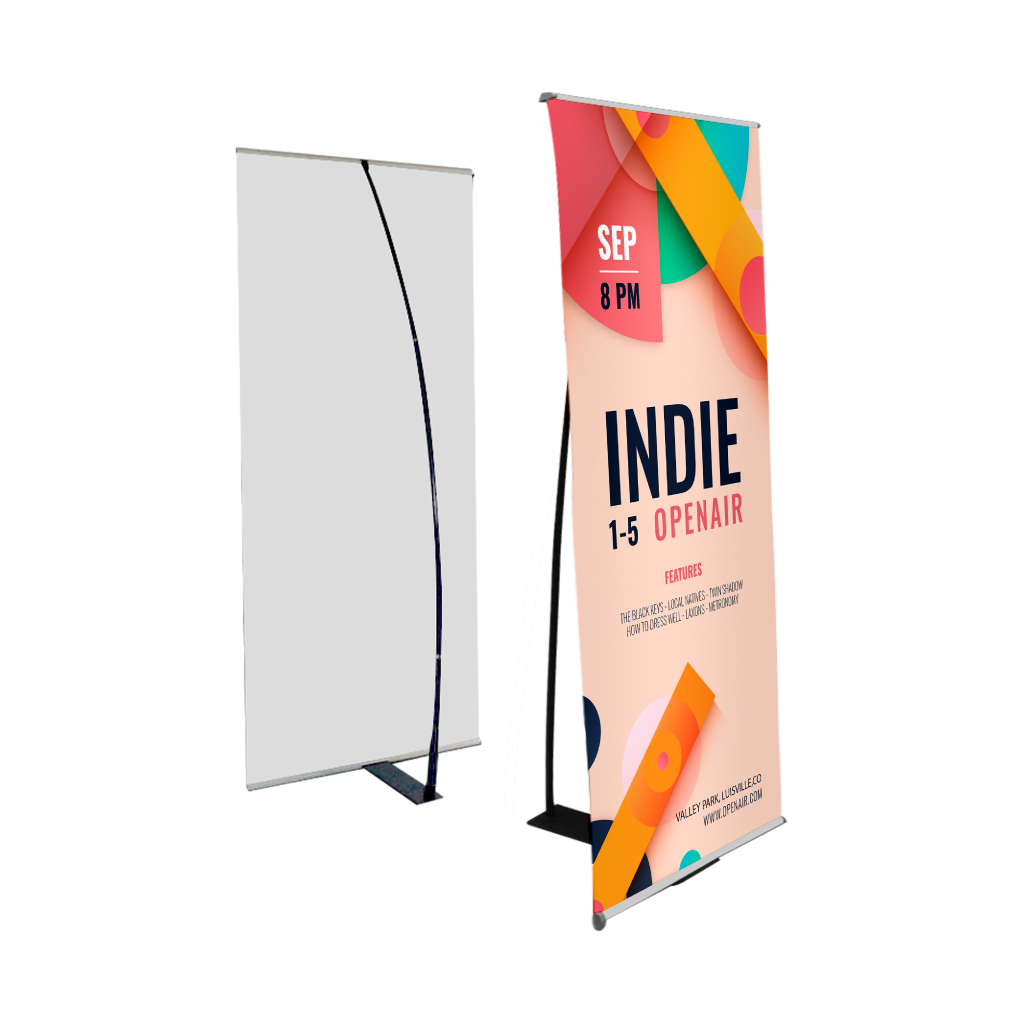
Infos & Tips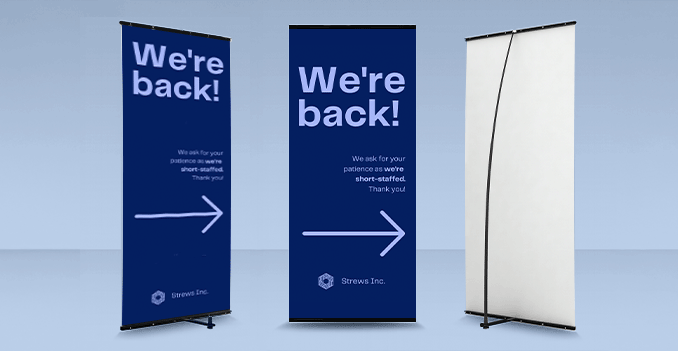 Our L-Stands are sleek and portable banner stands designed for quick setup and professional presentation. Available in two size options, it’s perfect for showcasing your message at events, trade shows, retail spaces, or presentations.
Our L-Stands are sleek and portable banner stands designed for quick setup and professional presentation. Available in two size options, it’s perfect for showcasing your message at events, trade shows, retail spaces, or presentations.How to choose the ideal size?
If you have a design, verify its dimensions using Adobe Acrobat’s 'Check Document Property' function; learn more here. Don’t have a design yet? Use our templates specifically tailored for the available sizes.Material
Choose Material
Infos & Tips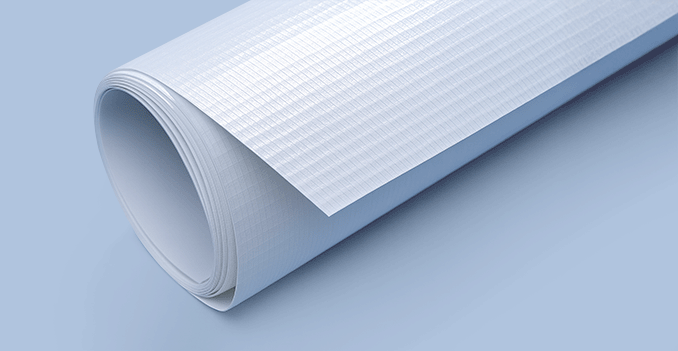 Our L-Stands are printed on high-quality 440gsm Korean blockout, offering a smooth, durable surface with excellent print quality.
Our L-Stands are printed on high-quality 440gsm Korean blockout, offering a smooth, durable surface with excellent print quality.What is Korean Blockout?
Korean Blockout is a light material combining the features of plastic film and an appearance remarkably similar to regular paper. It provides a professional, long-lasting finish—perfect for repeated use at trade shows, exhibitions, and retail displays.Printing Option
Choose Printing Option
Infos & Tips Our L-Stands are printed with high quality industrial water resistant, UV-stable inks, making them ideal for outdoor use.
Our L-Stands are printed with high quality industrial water resistant, UV-stable inks, making them ideal for outdoor use.Why we use outdoor printing:
Outdoor printing ensures your standee maintains vibrant colours and sharp detail even when exposed to sunlight, light rain, and wind. Perfect for outdoor events, storefront displays, or promotional campaigns, these standees are designed to stay bright and durable in a variety of weather conditions.Finishing
Choose Finishing
Infos & Tips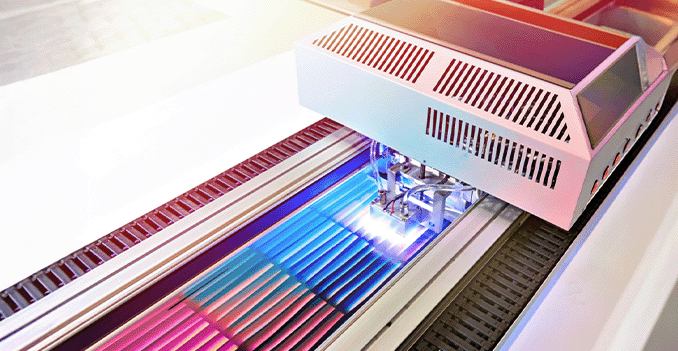 Our L-Stands feature UV printing, delivering sharp, vibrant graphics with exceptional durability.
Our L-Stands feature UV printing, delivering sharp, vibrant graphics with exceptional durability.Why we use UV printing:
UV printing method uses ultraviolet light to instantly cure the ink, resulting in rich colours, crisp detail, and a smooth, professional finish that resists fading, scratches, and moisture. Perfect for both indoor and covered outdoor use, UV printing ensures your message stays clear and impactful over timePackaging
Choose Packaging
Infos & Tips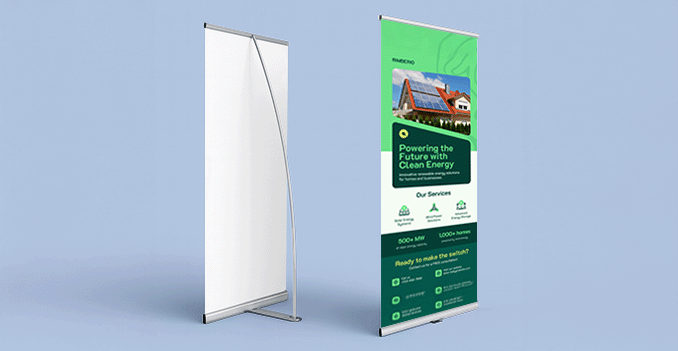 The L-Stand is a sleek, lightweight display solution ideal for showcasing banners at events, exhibitions, retail spaces, and presentations.
The L-Stand is a sleek, lightweight display solution ideal for showcasing banners at events, exhibitions, retail spaces, and presentations.What is the benefits of L-Stands?
The simple L-shaped frame makes setup quick and effortless, securely holding your printed graphic in place for a clean, professional look. Designed for portability and ease of use, the L-Stand is perfect when you need a stylish, space-efficient way to present your message with impact.STEP 3
Choose a Quantity & Delivery Date
Please select the price below to see the cutoff time.
Quantities
Receive your products by
1 pcs
2 pcs
3 pcs
4 pcs
5 pcs
10 pcs
25 pcs
50 pcs
100 pcs
Can't find the quantity you're looking for? You can add a custom quantity you want
Set Custom Quantity


